Paper plate owl with Marabu KiDS Little Artist

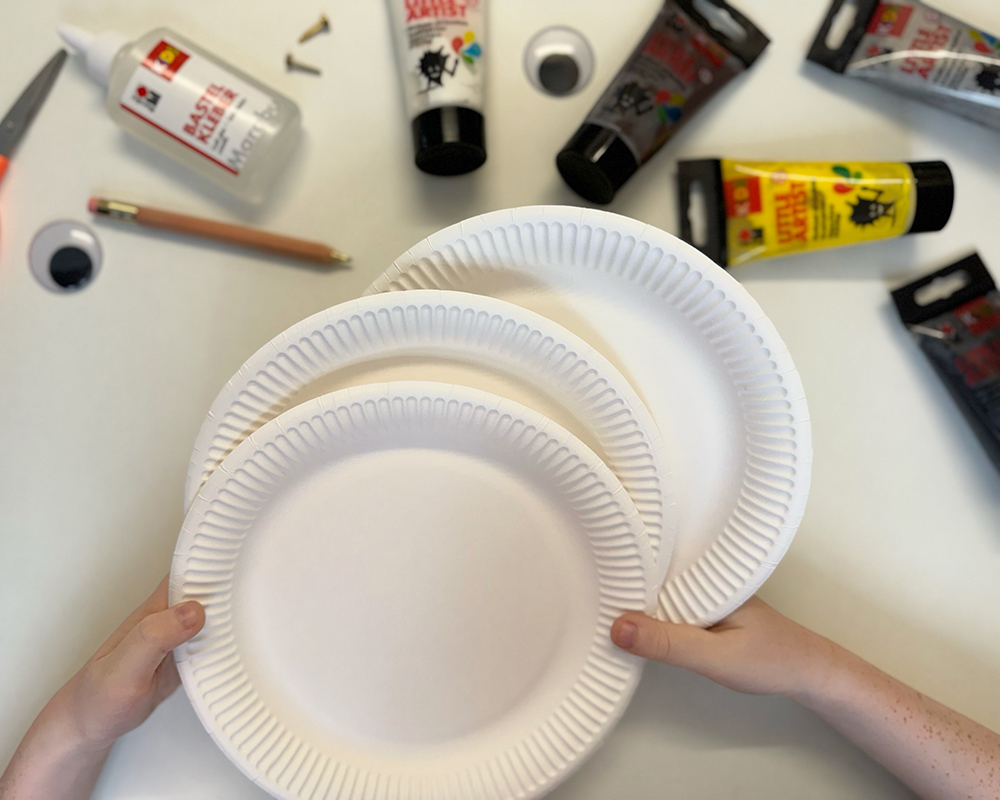
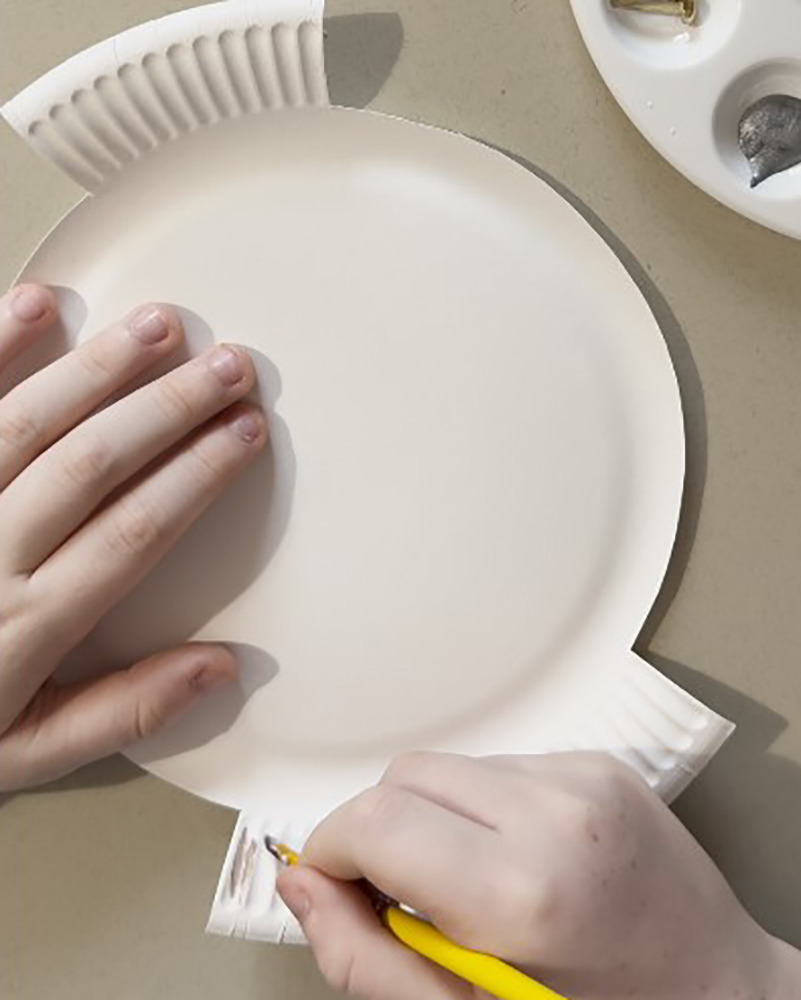
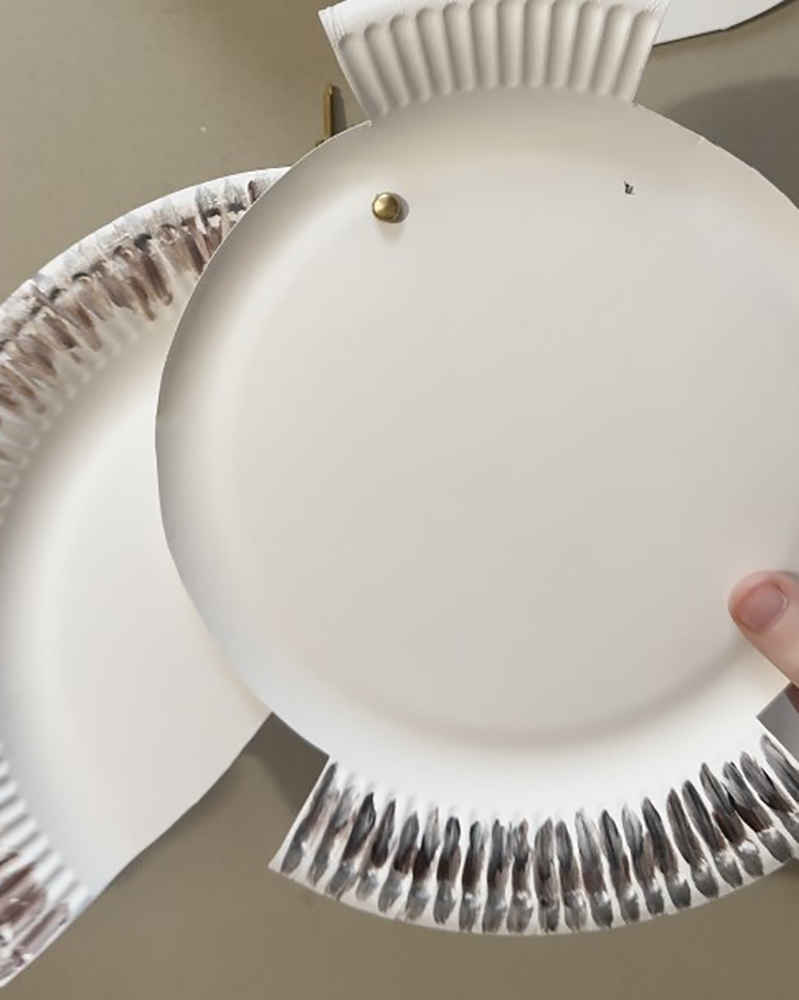
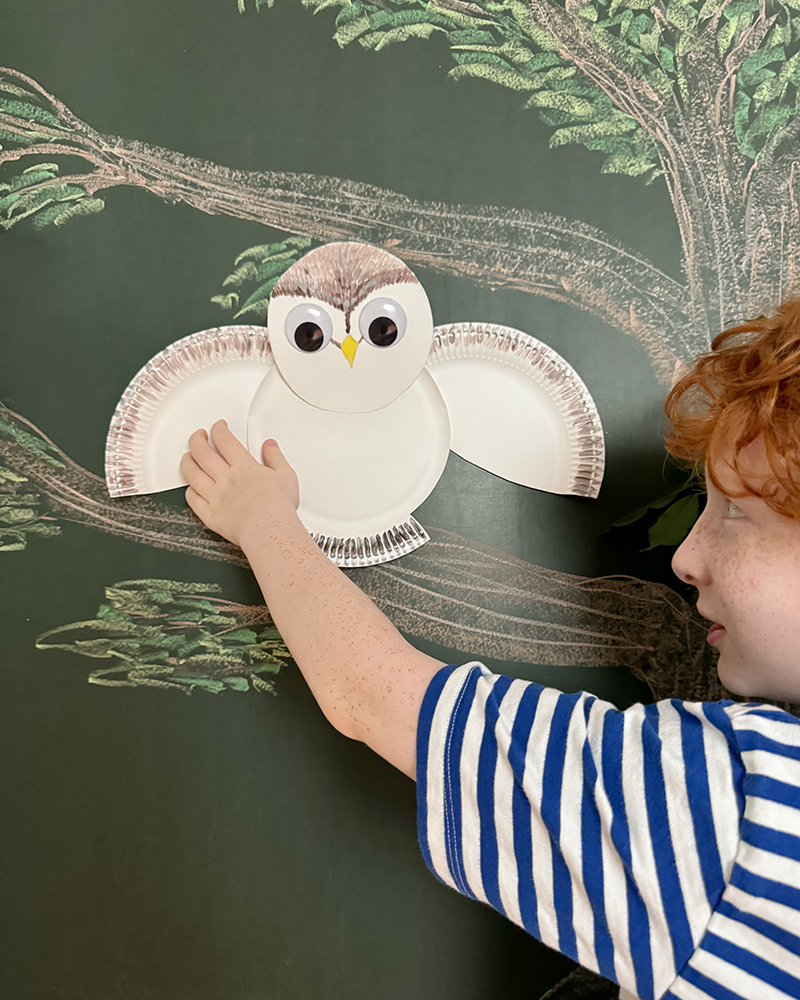
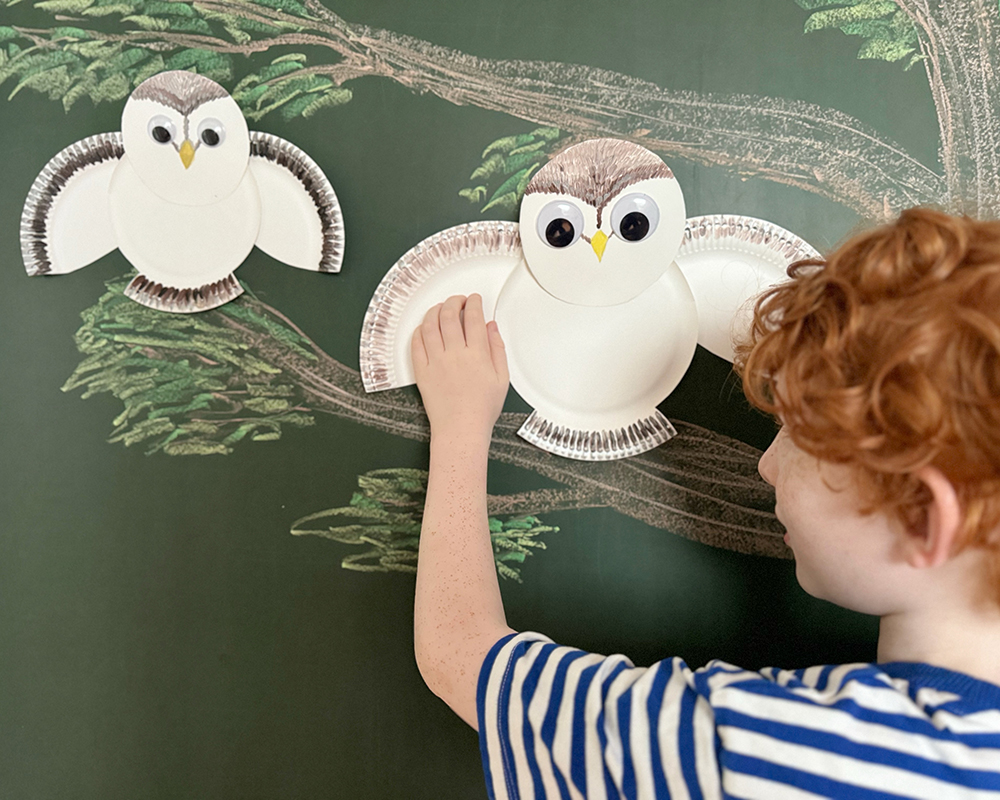
A little owl like this is a wonderful pastime for creative fall days. Paper plates and some KiDS Little Artist paint can be turned into a nice decoration for fall in just a few simple steps.

Share with friends

How it is done:

  • Cover the work area, prepare the materials and possibly put on a painting smock. You will need 3 paper plates to make an owl.
  • First sketch the owl's forehead and beak with a pencil on the inside of a paper plate.
  • Then colour the owl's face with Marabu KiDS Little Artist. All KiDS Little Artist colours can be mixed together. If you want to, simply mix the colours separately on the mixing palette. Allow to dry well and cut out the inside of the paper plate. The owl's head is ready!
  • Next come the wings. Use a pencil to draw an 'X' on the paper plate, then cut it out.
  • Use Marabu KiDS Little Artist to design the grooves on the paper plate to match the owl's head. Leave to dry well.
  • Now the body of the owl is missing. Cut the last sheet of paper, leaving a few centimetres of the grooved area at the top and bottom. Glue the head to the top piece. Decorate the bottom part with Marabu KiDS Little Artist. These will be the owl's tail feathers.
  • The next step is to attach the wings to the body using pattern bag clips. To do this, press a clip into a hole at the top of the body and at the edge of the wing, open the two flaps and press them flat. Repeat this on the other side.
  • Finally, glue the head to the body and the wiggly eyes to the face.

© 2024 Marabu Gmbh