From favourite pic to eye-catcher with Marabu Photo Transfer

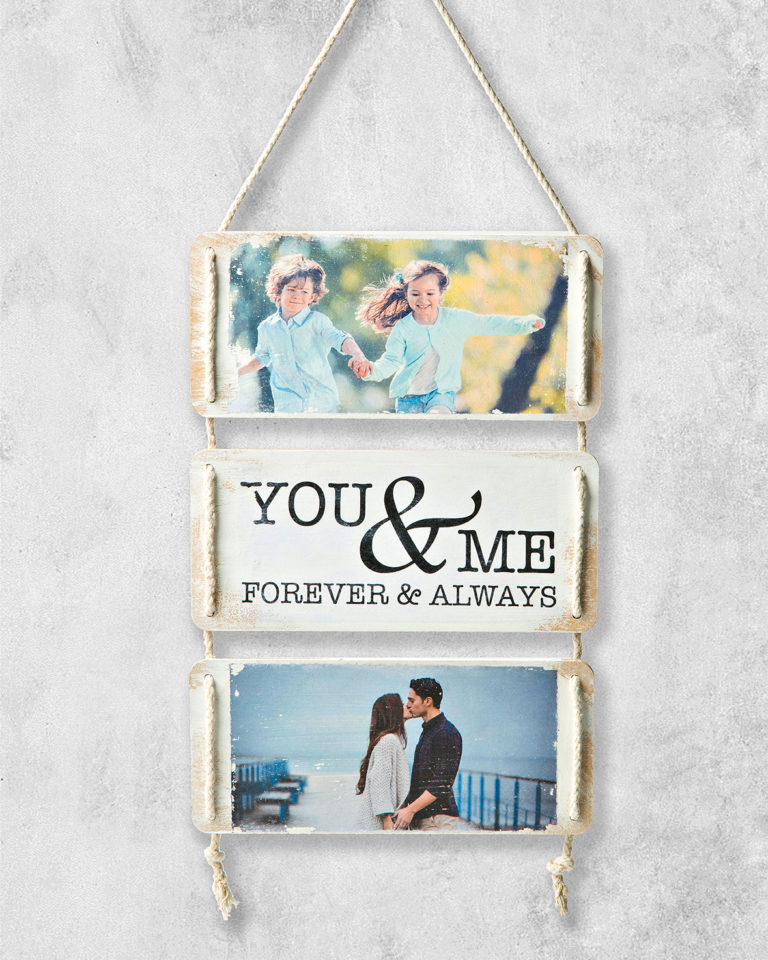
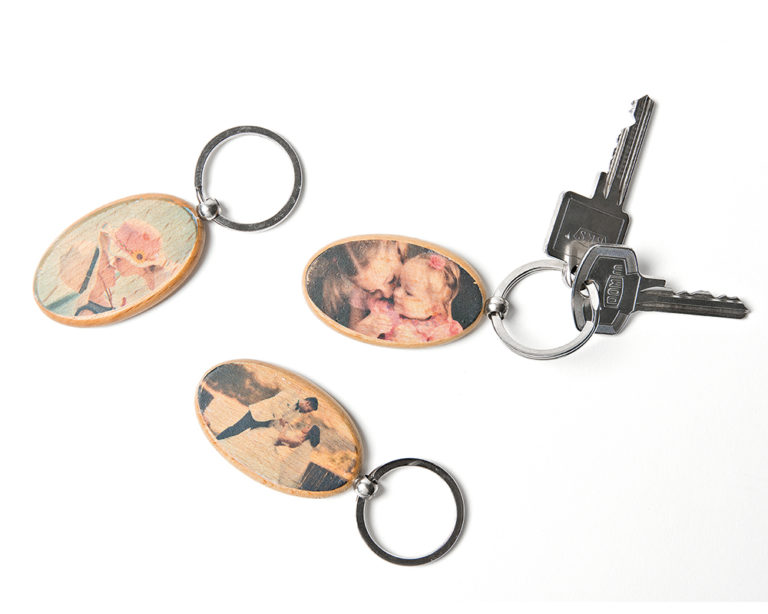
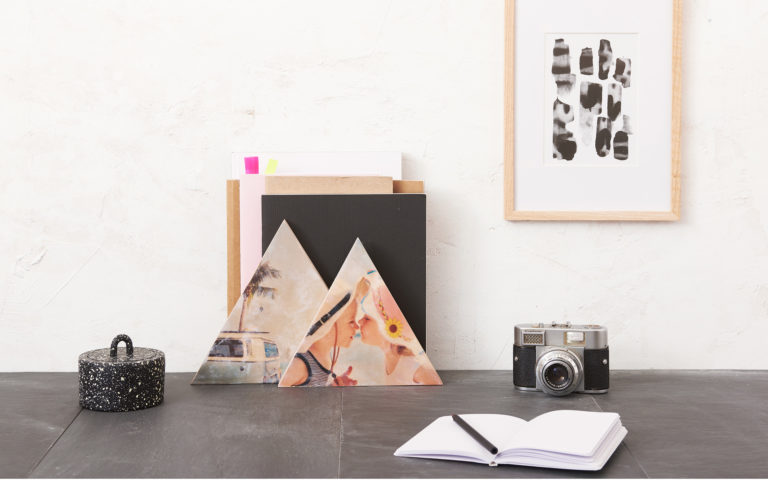
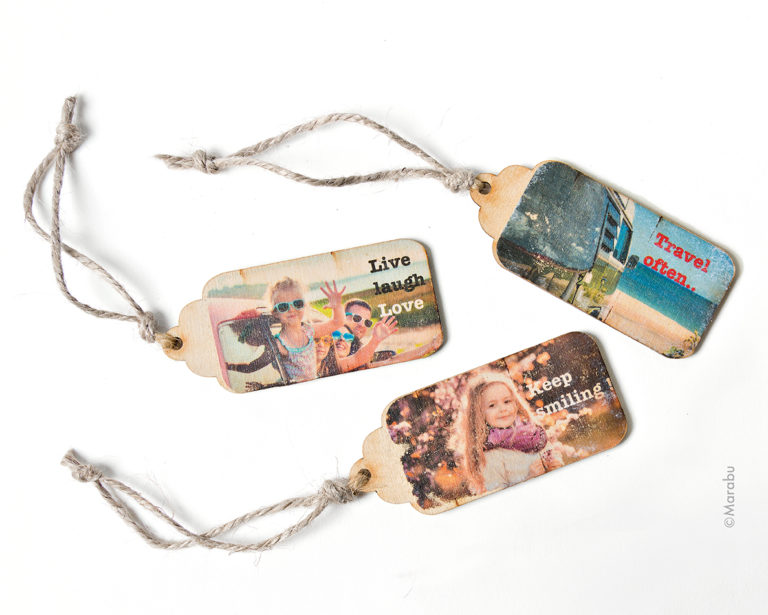
With just a few DIY steps, you can transfer your best holiday photos onto wooden plates, for example, and you have a lasting memory of the loveliest moments. Whether it is decoration for your writing desk, a home accessory, or an individual photo gift for your loved ones – you can display your individual snapshots easily and effectively. Marabu Photo Transfer is available in a practical set for this purpose.
Share with friends

Marabu products you need...

…additionaly things you need

Wooden plates
Laser printer
Scissors
Saw
Corners
Screwdriver
Tips and Tricks

  • Fonts must be printed mirror-inverted.
  • For used looks, tear out images, do not cut them out.
  • The medium must not be spread over the pasted image during application.

How it is done:

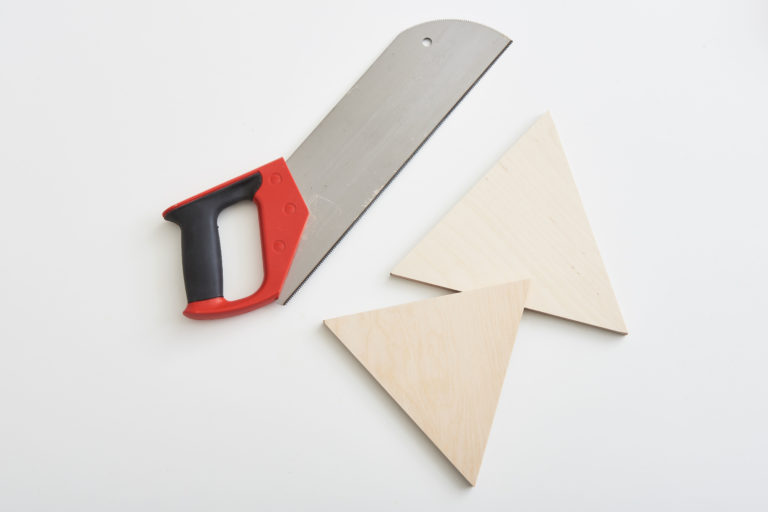
  • Saw the book end in the shape required.
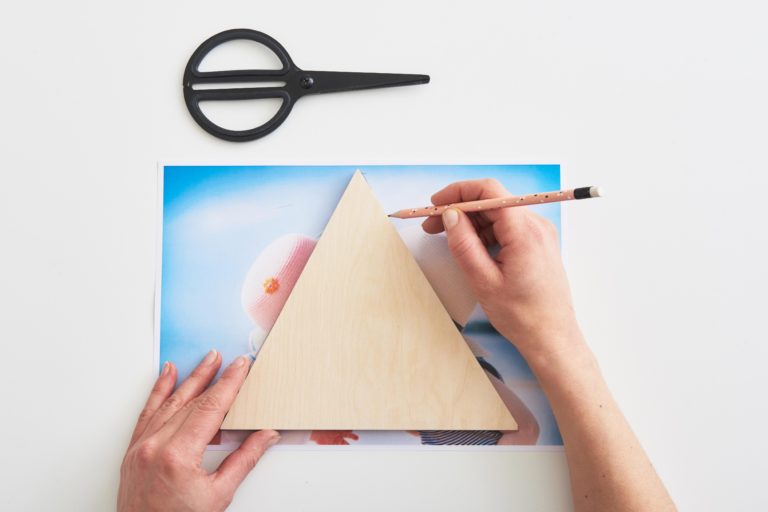
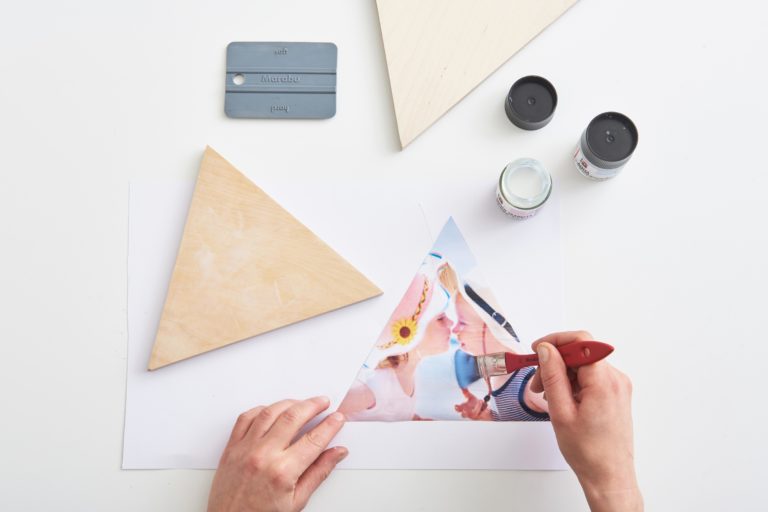
  • Print out the photo back-to-front on a laser printer and cut out.
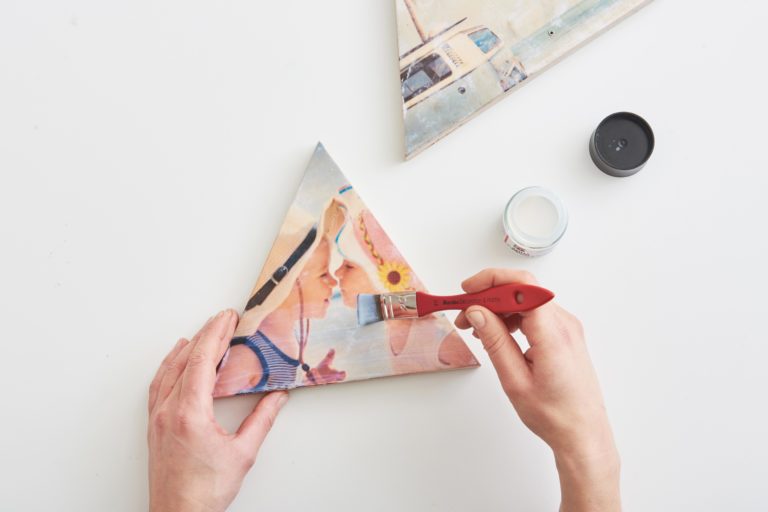
  • Paint the clean and dry background as well as the surface of the printout fully with Marabu Photo Transfer medium. Do not leave out any areas.
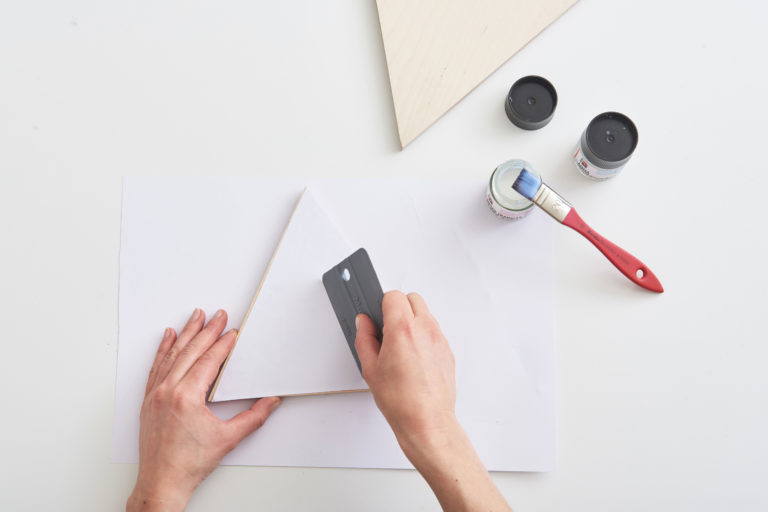
  • Place the printout with the printed image on the background and smooth down with a scraper or finger. Remove any excess medium straight away. Do not spread the medium over the paper applied. Leave to dry for 2 hours or dry with a hair dryer for ca 8 minutes.
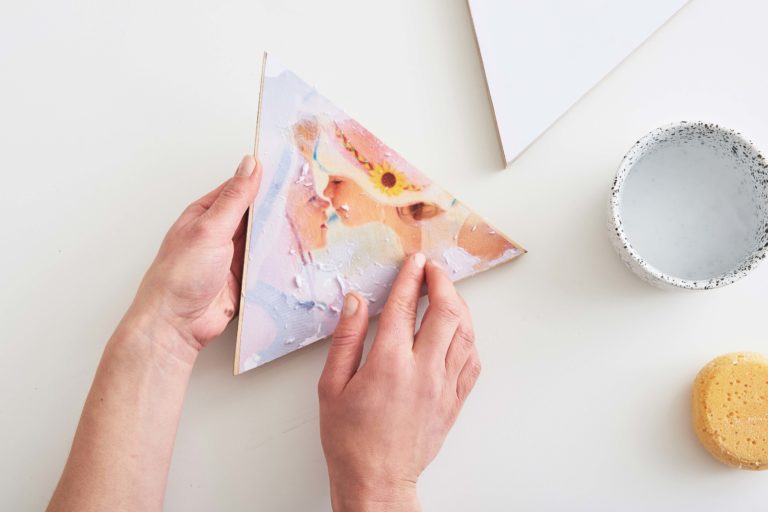
  • Wet the paper printout with water and soak it well. Carefully rub the paper with a finger or sponge. Repeat the procedure until all paper layers have been removed.
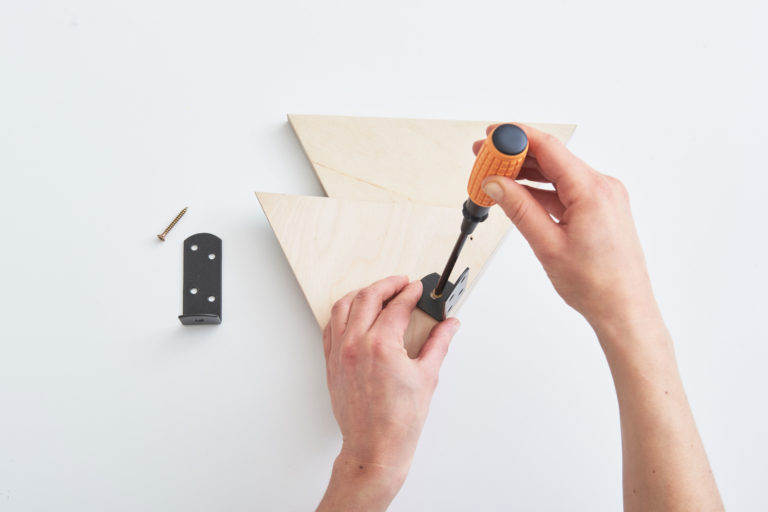
  • Screw the corners onto the wooden plates.
  • Paint over with Aqua matt varnish to remove paper fibre residues and protect the picture.

© 2024 Marabu Gmbh