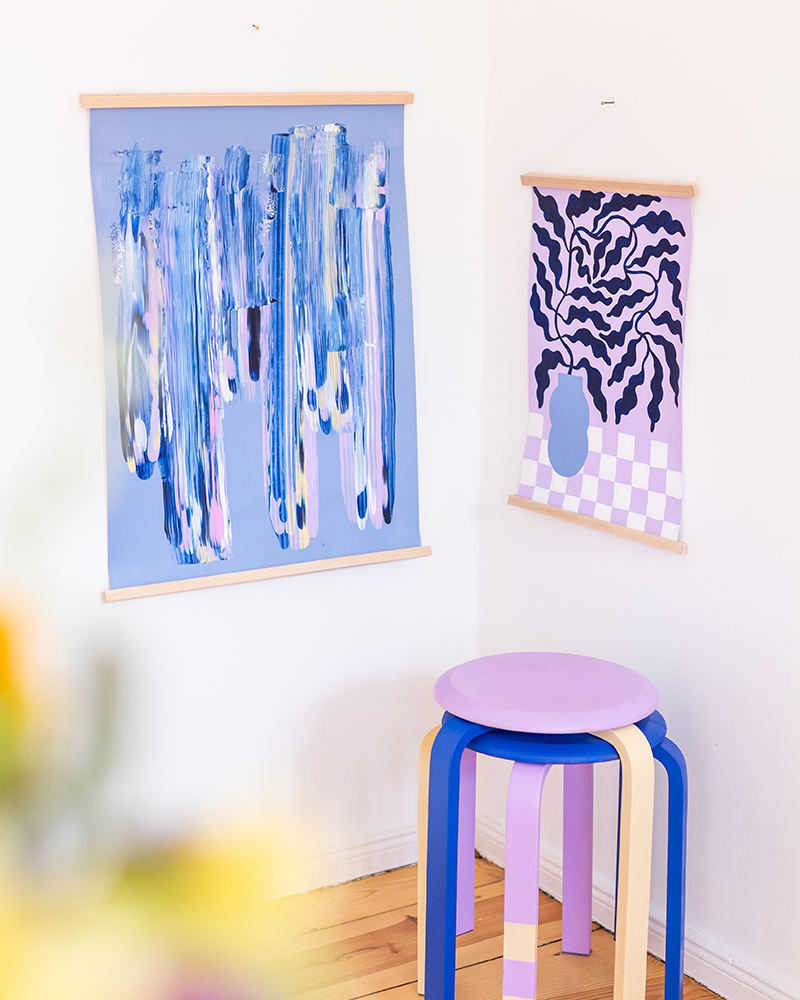
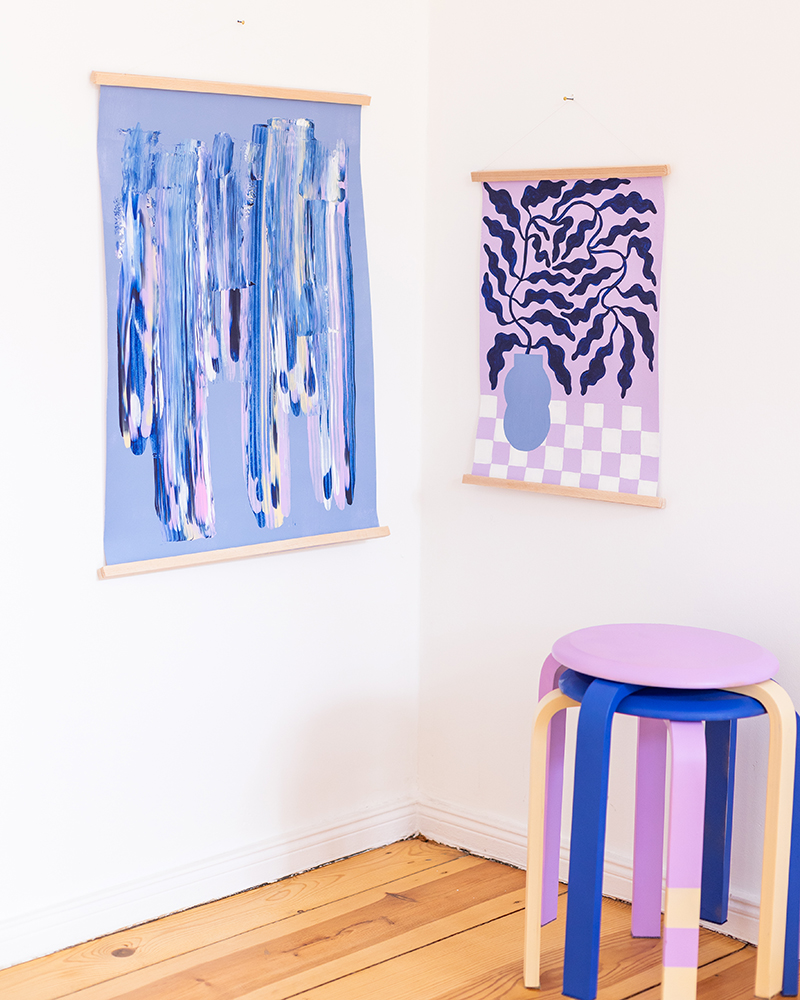
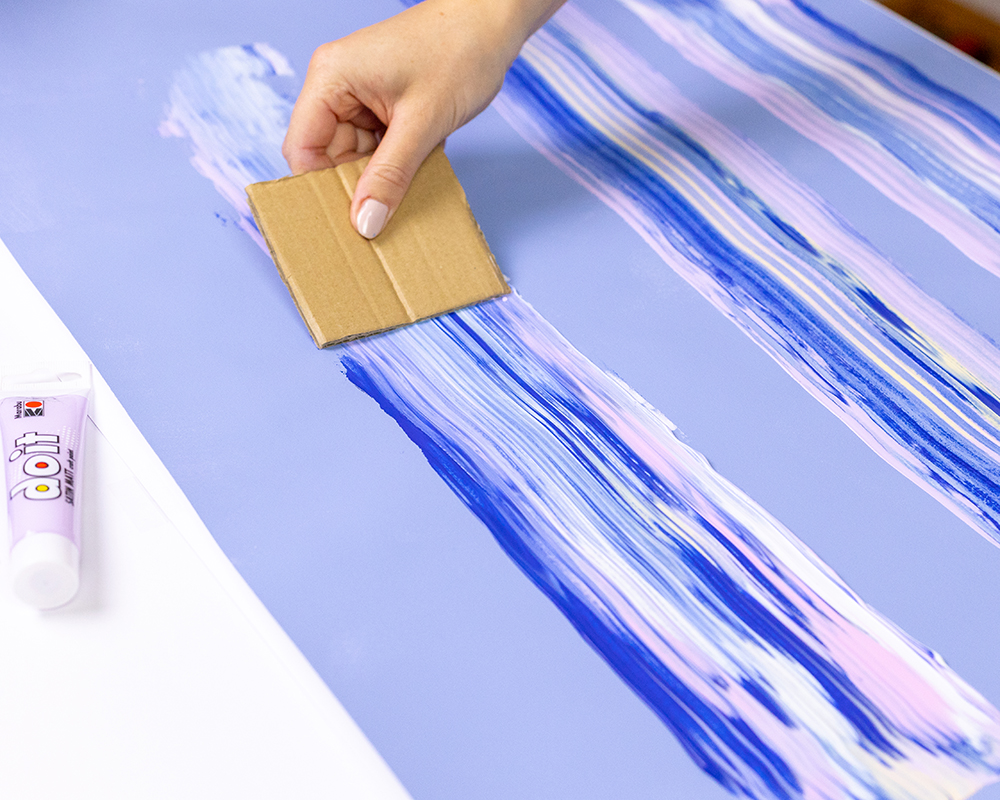
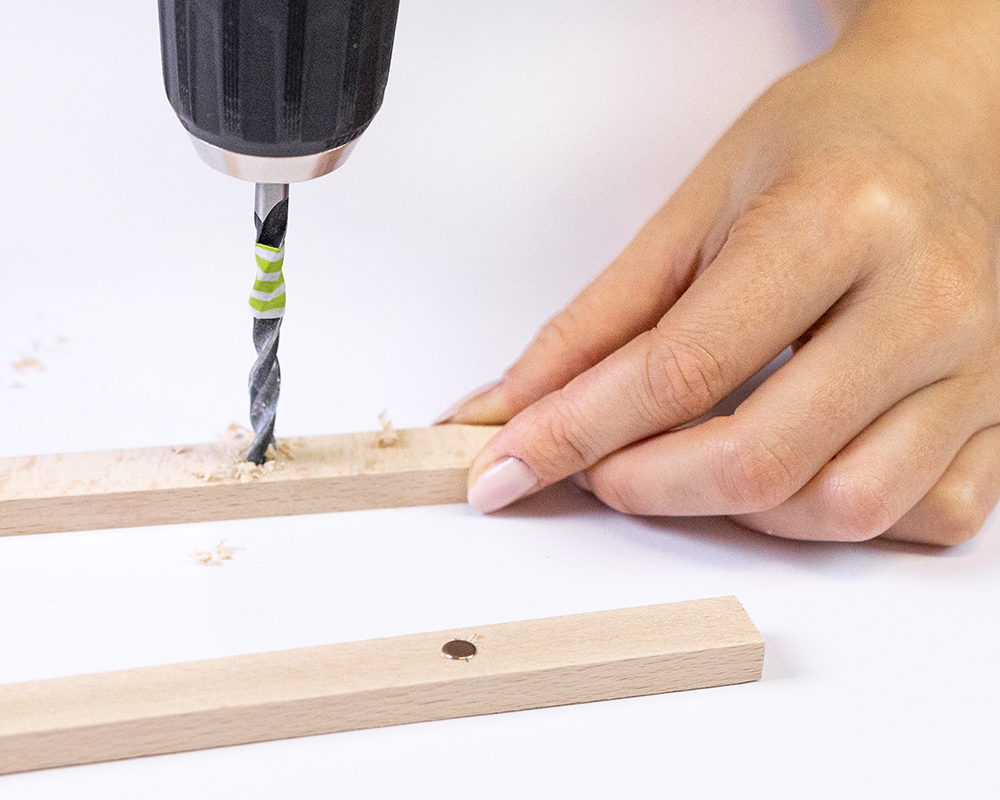
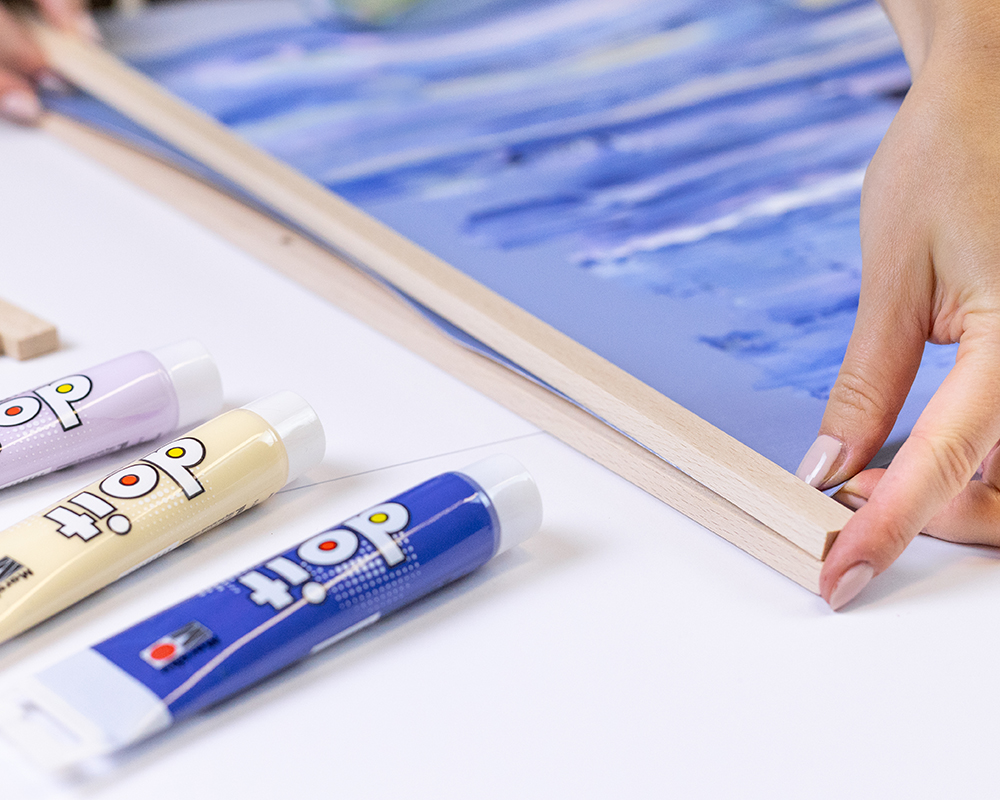
Magnetic picture strip with Marabu DO IT Craft Paint

A homemade picture rail made of wooden slats is the perfect choice to stylishly display your own painted artwork. Marabu DO IT Craft Paint can be used to creatively design both simple works of art and the picture rail. Perfect for adding a personal and modern touch to your home.

Share with friends
Marabu products you need...

…additionaly things you need

paper
cardboard, spatula
wooden strip
saw
ruler
cordless screwdriver with wood drill
small, round magnets
super glue
Tips and Tricks

  • In addition to the acrylic pictures, the wooden picture rail can also be decorated with Marabu DO IT Craft Paint. Marabu DO IT Craft Paint is ideal for DIY projects on wood, MDF, paper, cardboard, stone, metal, terracotta, polystyrene and much more.

How it is done:

  • Cover the work area and lay out the materials.
  • For the abstract of the two pictures, first prime the clay paper with a mixture of DO IT Craft Paint in lavender and midnight blue. When dry, add dots of white, sand, midnight blue and lavender in different combinations next to each other on the paper.
  • Place a piece of cardboard (alternatively, you can use a palette knife or something similar) over the color clusters and draw it in a quick motion over the color to the opposite edge of the picture. Repeat this several times until you get the desired result.
  • For another picture, first prime the clay paper in lavender. When dry, paint a checkerboard pattern in white on the bottom third of the picture. Now you can design a plant in midnight blue. When the paint is dry, paint the vase again in the mixed color of lavender and midnight blue.
  • Allow both pictures to dry thoroughly. Meanwhile, saw the wooden strips to the desired length. You will need 4 wooden strips per picture: 2 at the top and 2 at the bottom. All 4 strips are as long as the top or bottom edge of the acrylic picture, plus 2 cm.
  • From the two short sides of each cut strip, make a mark 5 cm apart; this is where the holes for the magnets will be made.
  • The wood drill should be large enough to fit one of the round magnets exactly into the hole to be drilled. Position it at the marked points and carefully drill a few millimeters (the height of the magnets) into the strip without drilling all the way through.
  • Using a small amount of super glue, one of the magnets can now be inserted into each hole and attached. Be sure to use the same magnets on the two opposite strips.
  • Now attach the strips to the bottom and top of the picture by simply clamping the paper between them. Then simply attach a string or hook to the top strip to hang it up.

© 2024 Marabu Gmbh